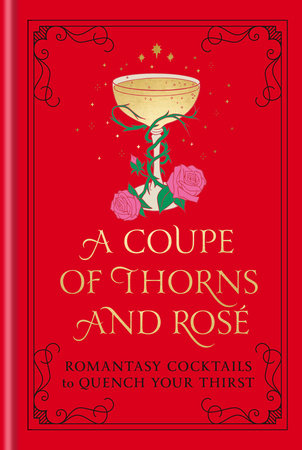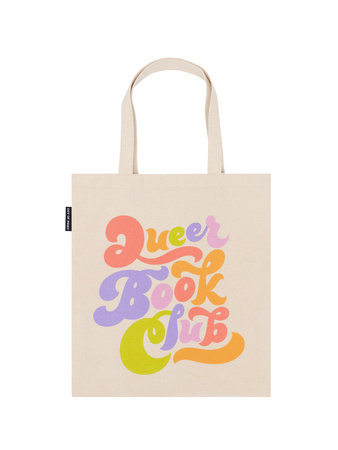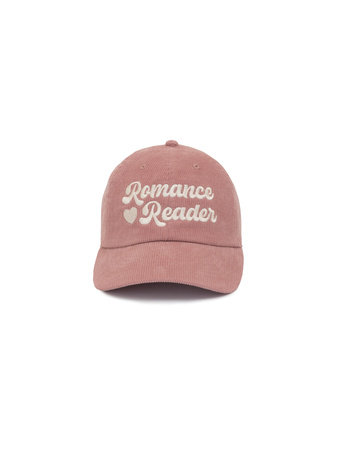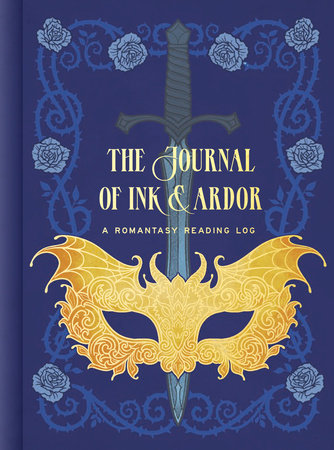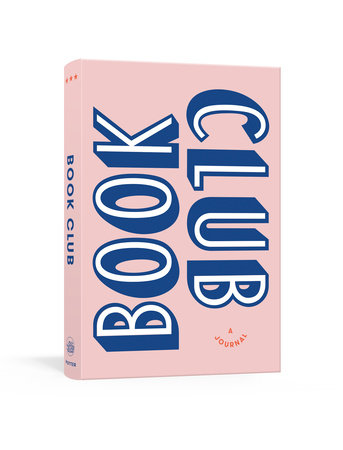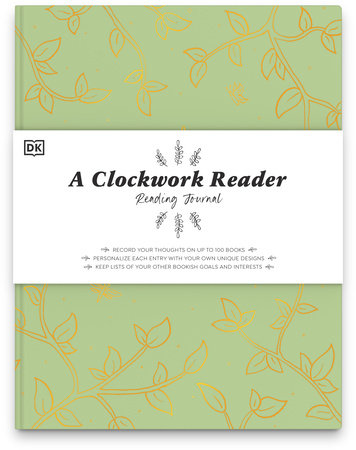
Book clubs have made a comeback in a big way! As #BookTok continues to drive book discovery, Gen Z and Millennials looking for community and connection have flocked to book clubs as an accessible and budget-friendly “third space.” From silent reading parties that evoke the concept of parallel play to themed clubs focusing on niche genres like queer fiction or romantasy, young people are making book clubs their own.
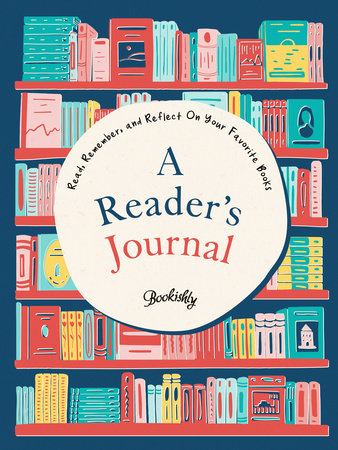
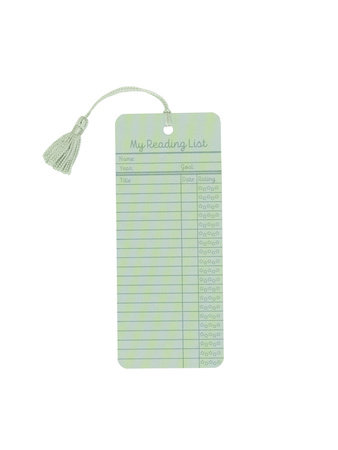
The renewed interest in communal reading has driven an accompanying rise in reader accessories! Etsy reports an increase in searches for book lover gifts, ebook cases, and magnetic bookmarks, and TikTok is full of avid readers who love to decorate their Kindle cases with bookish stickers and show off their aesthetic book tracking journals.
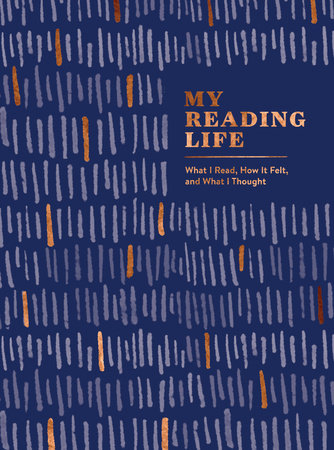
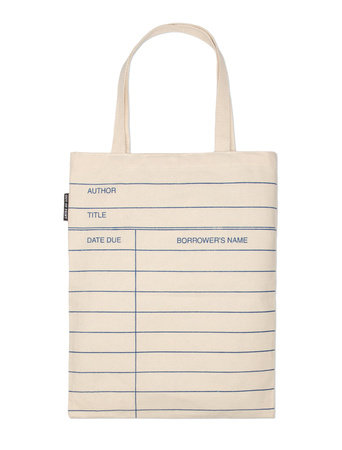
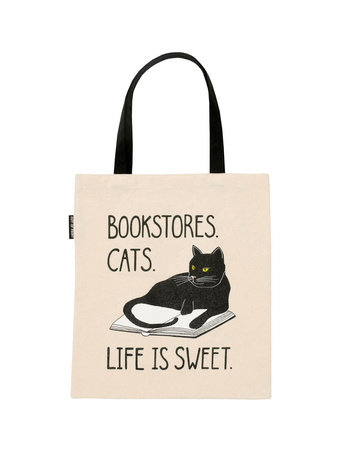
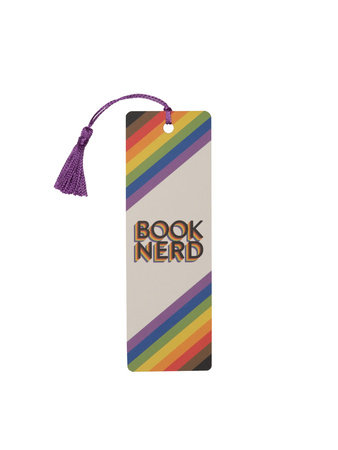
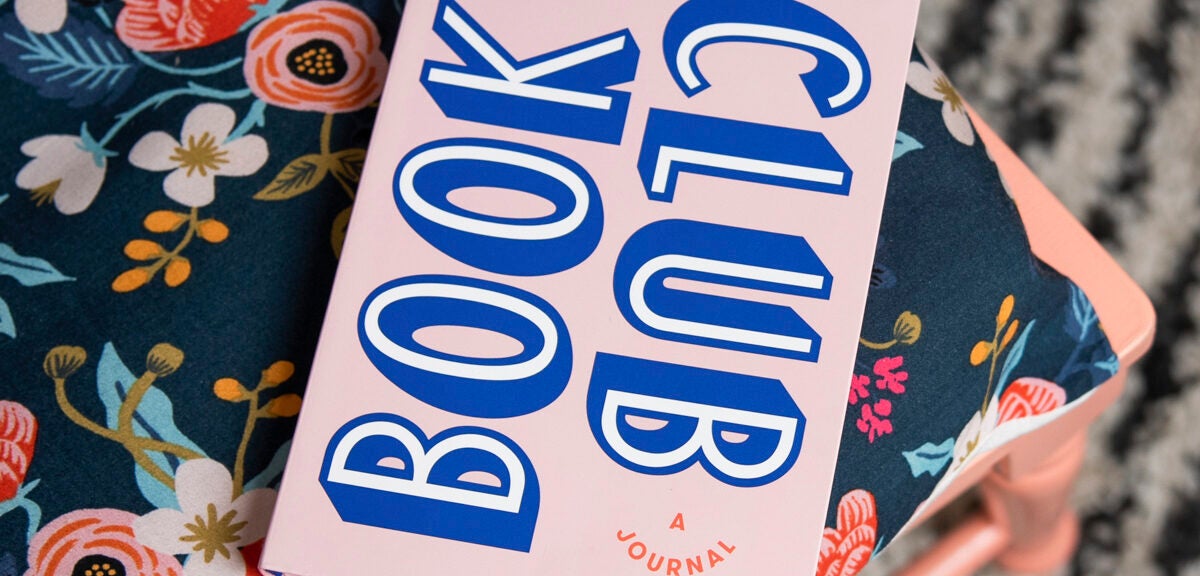
Create a display that celebrates the book lover lifestyle with reading journals, bookish swag from Out of Print, and even a romantasy-themed cocktail book that will transform your next book club meeting into a literary bash to remember!