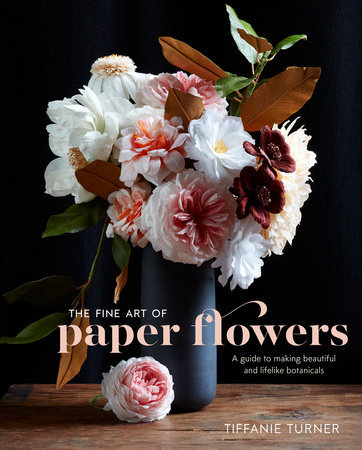
introduction
For the past four or five years, I have spent most of my days and nights standing in a pile of paper scraps in our San Francisco flat, making paper flowers big and small. Because we are in close quarters, everyone in my unbelievably patient family has had a role in my career as a paper artist, whether as an idea person, a janitor, or both. This book, which provides instruction on how to make all of my favorite crepe-paper flowers, as well as some wonderful projects using the flowers to adorn your body and home, is the fruit of that labor. As seriously as I take this craft, paper flower making is far from rocket science. While I give detailed instructions and specific techniques for making botanically accurate specimens in this book,I really want you to enjoy the journey and feel free to be creative. The supplies needed are simple and few in number. When I first started making flowers, I worked with the same range of supplies I do now: a roll of crepe paper, a length of wire, and a bit of glue. If you can’t wait for crepe to arrive in the mail, start with bougainvillea made of party streamers. If you are out of wire, grab a coat hanger or wooden skewer. There are more materials available on the market than I use myself, and doing the work of creating paper flowers, using your hands, and learning the process are more important than using the perfect supplies.
I encourage you to approach each flower as a project unto itself. The tutorials range from “very easy” to “not very hard with a little practice.” There are flowers in this book that can take five minutes, and a few that can take five hours or more. They have been grouped primarily by the techniques you will use to make them, which loosely relate to how they grow botanically. If this is your first foray into paper flower making, start with the tutorials in “Basic Techniques & Starter Specimens” (page 21) and then the hybrid tea rose tutorial (page 59) from “My Favorite Roses.” These should build your confidence fairly quickly, but be patient with yourself at first, and use artistic license when you need to.
The biggest piece of advice I give to my students and anyone else seeking my help with paper flower making has always been this:
In order to achieve the desired results when working in realism, you must make what you see, not what you think you see.
This means working from real floral specimens, or even flowers depicted in art, whenever possible and trying to not get lost in the repetition in the form of a flower when so many flowers are actually quite irregular. It means paying attention to the details and the organized chaos that is nature and avoiding making assumptions when trying to re-create the natural world. There are as many glitches in the head of a flower as there are orderly rows of petals, which I try to recognize in my work. To assist in this, I spend a good deal of time in the tutorials talking about how to groom the petals in just the right ways, stretching, folding, and often crumpling the paper so that it catches the light and the petals appear as they would in nature. Several of the tutorials walk you through petal placement to help you attach them in the most realistic patterns and avoid the look of a flower made on an assembly line. Details like these mean a lot to me, and if you pay attentionto them I promise you great results. My hope is that you will learn the skills to capture flowers the way you see them and that you will parlay those skills into making your own templates and techniques for new flowers and creations, if you so desire.
Copyright © 2017 by Tiffanie Turner. All rights reserved. No part of this excerpt may be reproduced or reprinted without permission in writing from the publisher.