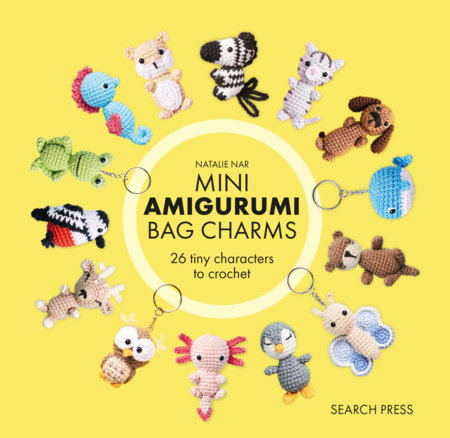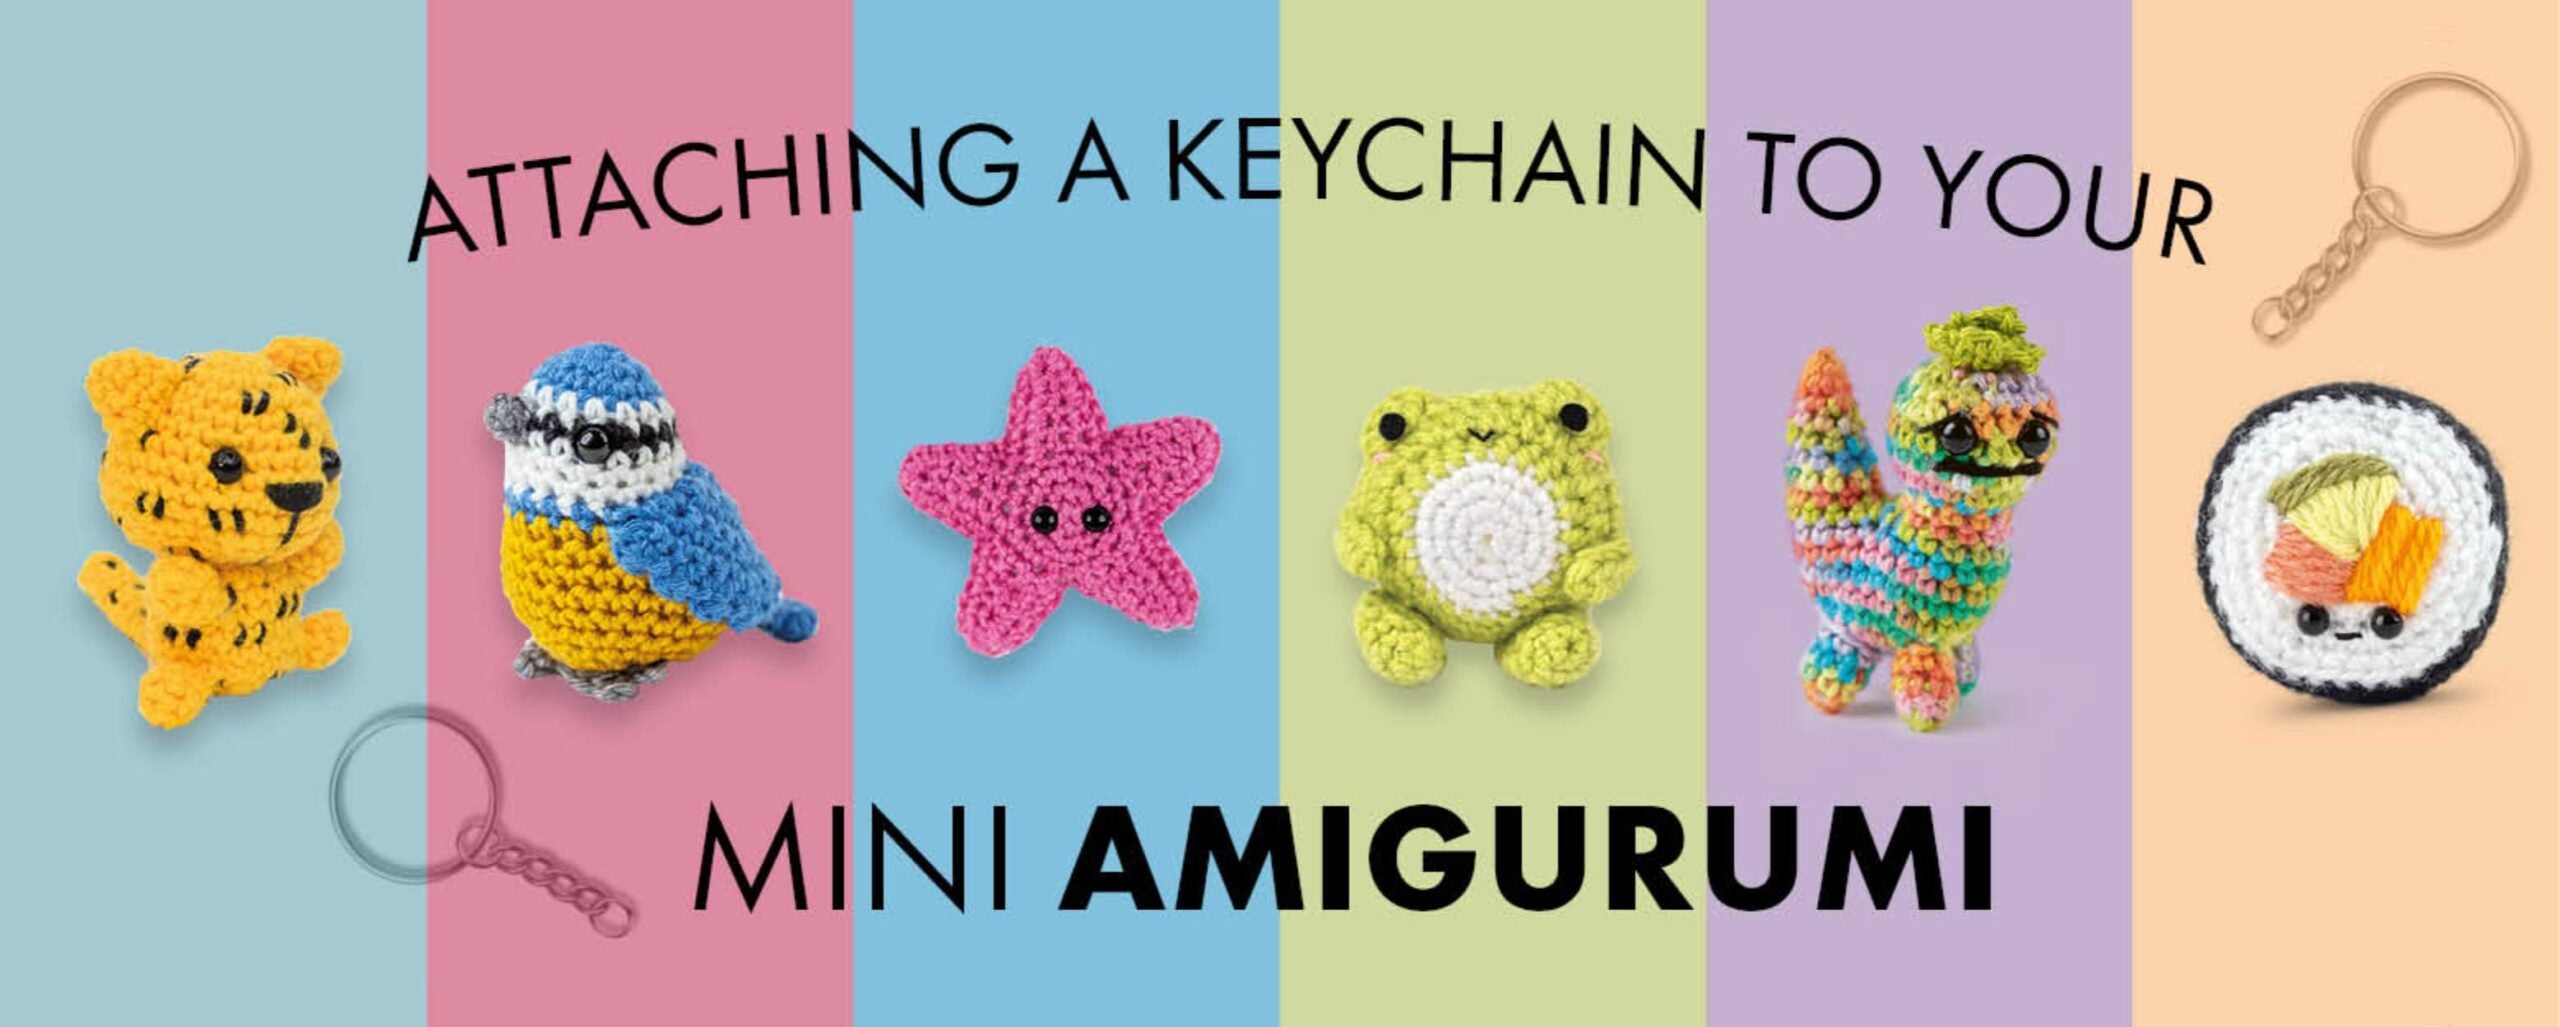
Attach a keychain to your Mini Amigurumi projects for a handmade bag charm that goes with everything!
Search Press’s Mini Amigurumi series is full of tiny projects that make great entry points for novice crafters. And these little crafts serve double duty, since they’re also the perfect size to make a bag charm out of! Below is a simple guide to transforming your crocheted friend into a whimsical charm that can go everywhere with you—the perfect DIY workshop activity for craft stores looking for creative ways to engage with customers.
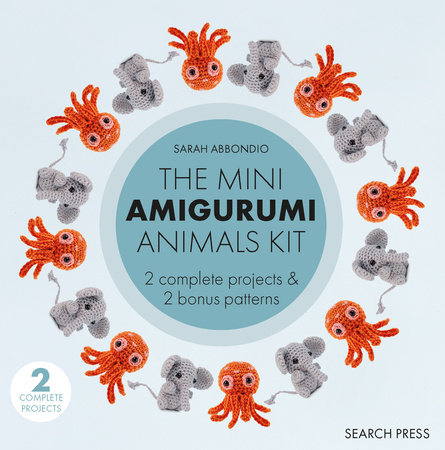
Check out the guide, grab some keychain attachments, and stock up on the all-in-one Mini Amigurumi Animals Kit to create a hands-on customer experience!
How to Attach a Keychain to Your Mini Amigurumi Project: A Guide
The adorable, easy-to-make projects in the Mini Amigurumi series are the perfect size to make into keychains and bag charms for both you and your loved ones. So, why not transform your charming little amigurumi figure into a practical gift? With this short guide, find out everything you need to know about attaching a keychain to your Mini Amigurumi projects!
What you’ll need:
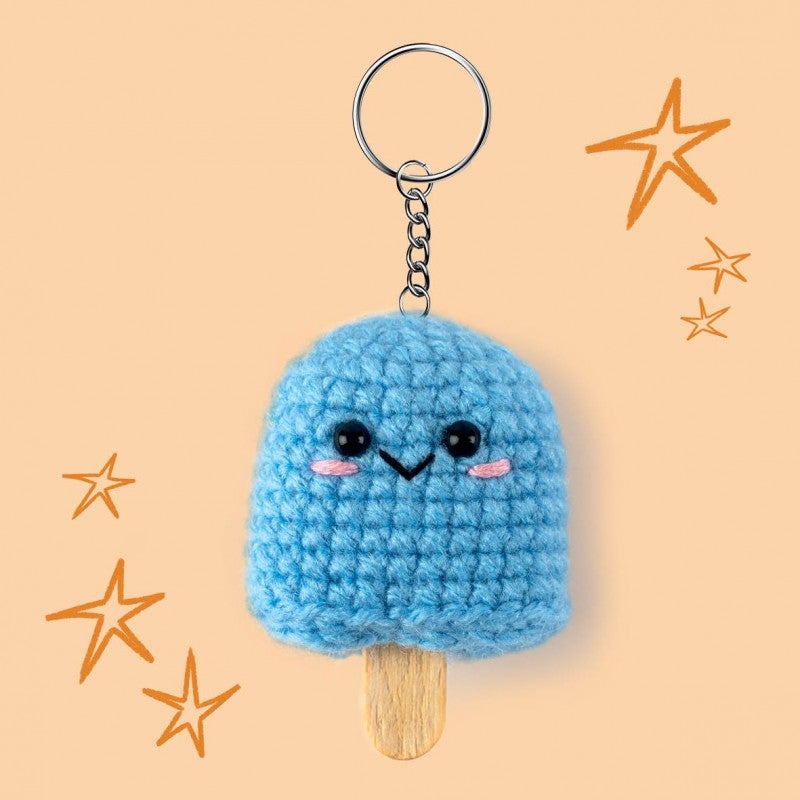
- A keychain (we recommend a 1in/2.5cm long keychain for Mini Amigurumi projects)
- A small amount of yarn in the same color as your amigurumi
- A darning needle (a blunt tipped needle with an eye large enough to fit your yarn through)
- Your Mini Amigurumi!
How to attach the keychain:
- When you fasten off your amigurumi project, leave a long thread that you can use to attach your project to the keychain.
- Decide where you would like your keychain to be attached.
- Thread the yarn through your darning needle.
If you would like the keychain to be attached to where you fastened off your project (i.e. where the long thread is):
- Insert your threaded needle into the point you have chosen to attach the keychain to, bringing your needle out the other side and threading it through the jump ring.
- Continue to sew the keychain onto the chosen point of your amigurumi with three or four stitches, through a stitch into the point you have chosen and the jump ring.
- When you have completed three or four stitches (or more – the number of stitches used is up to you!), bring the needle through your project so that the yarn exits at the bottom of your amigurumi. Be careful not to pull too tight.
- Once you have pulled the yarn through, weave in the loose end.
If you would like the keychain to be attached to a different part of your project:
- Insert the needle into the center of the final round and pull your needle and yarn through to where you would like your keychain to be. Make sure to pull your yarn through loosely, so as not to misshape your amigurumi.
- Complete steps 4-7, as above.
And there you have it – your very own Mini Amigurumi keychain/bag charm!
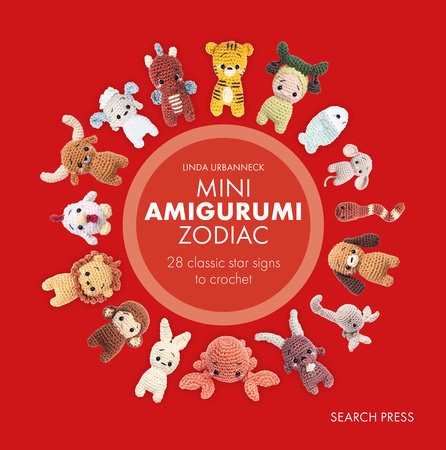
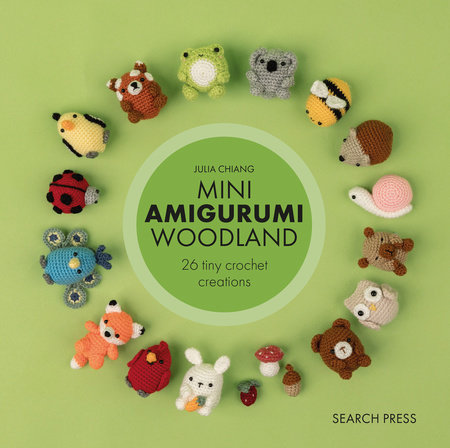
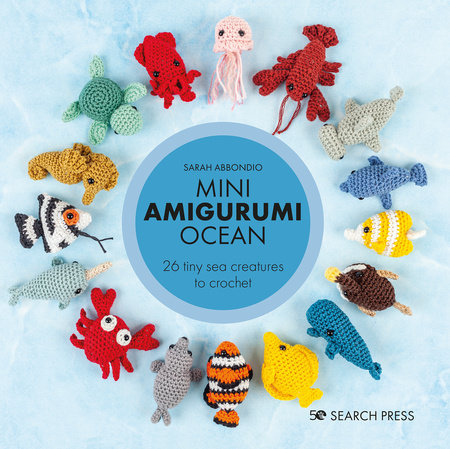
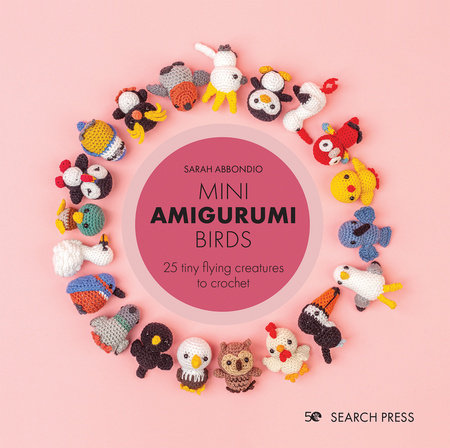
Looking for even more Mini Amigurumi fun? Then why not take a look at the rest of the titles in this series? From colorful parrots and peacocks to ferocious sharks and lions, this series is jam packed with adorable tiny creatures and figures to crochet!